
In the fast-evolving world of digital design, few tools have generated as much excitement as Adobe Fresco. More than just another drawing app, Fresco brings something rare to the table: it makes digital art feel alive. Whether you’re a seasoned illustrator or a curious beginner, Fresco offers a mix of power, realism, and freedom that can completely change how you create.
Real Paint, Real Time: The Power of Live Brushes
The feature that truly makes Fresco stand out is its Live Brushes. These aren’t just fancy digital tools — they’re engineered to replicate the behavior of real watercolor and oil paint. When you use a Live Brush, the paint doesn’t just appear on the canvas. It moves. It spreads. It reacts to other colors, just like physical paint would.
- Watercolor brushes actually bleed into the paper.
- Oil brushes smear and build texture as if you’re working on a real canvas.
- You can layer, blend, and glaze, creating effects that were nearly impossible in other digital apps.
This level of realism brings a new sense of joy and experimentation to digital painting. For traditional artists making the leap to digital, Fresco offers a familiar and forgiving experience.

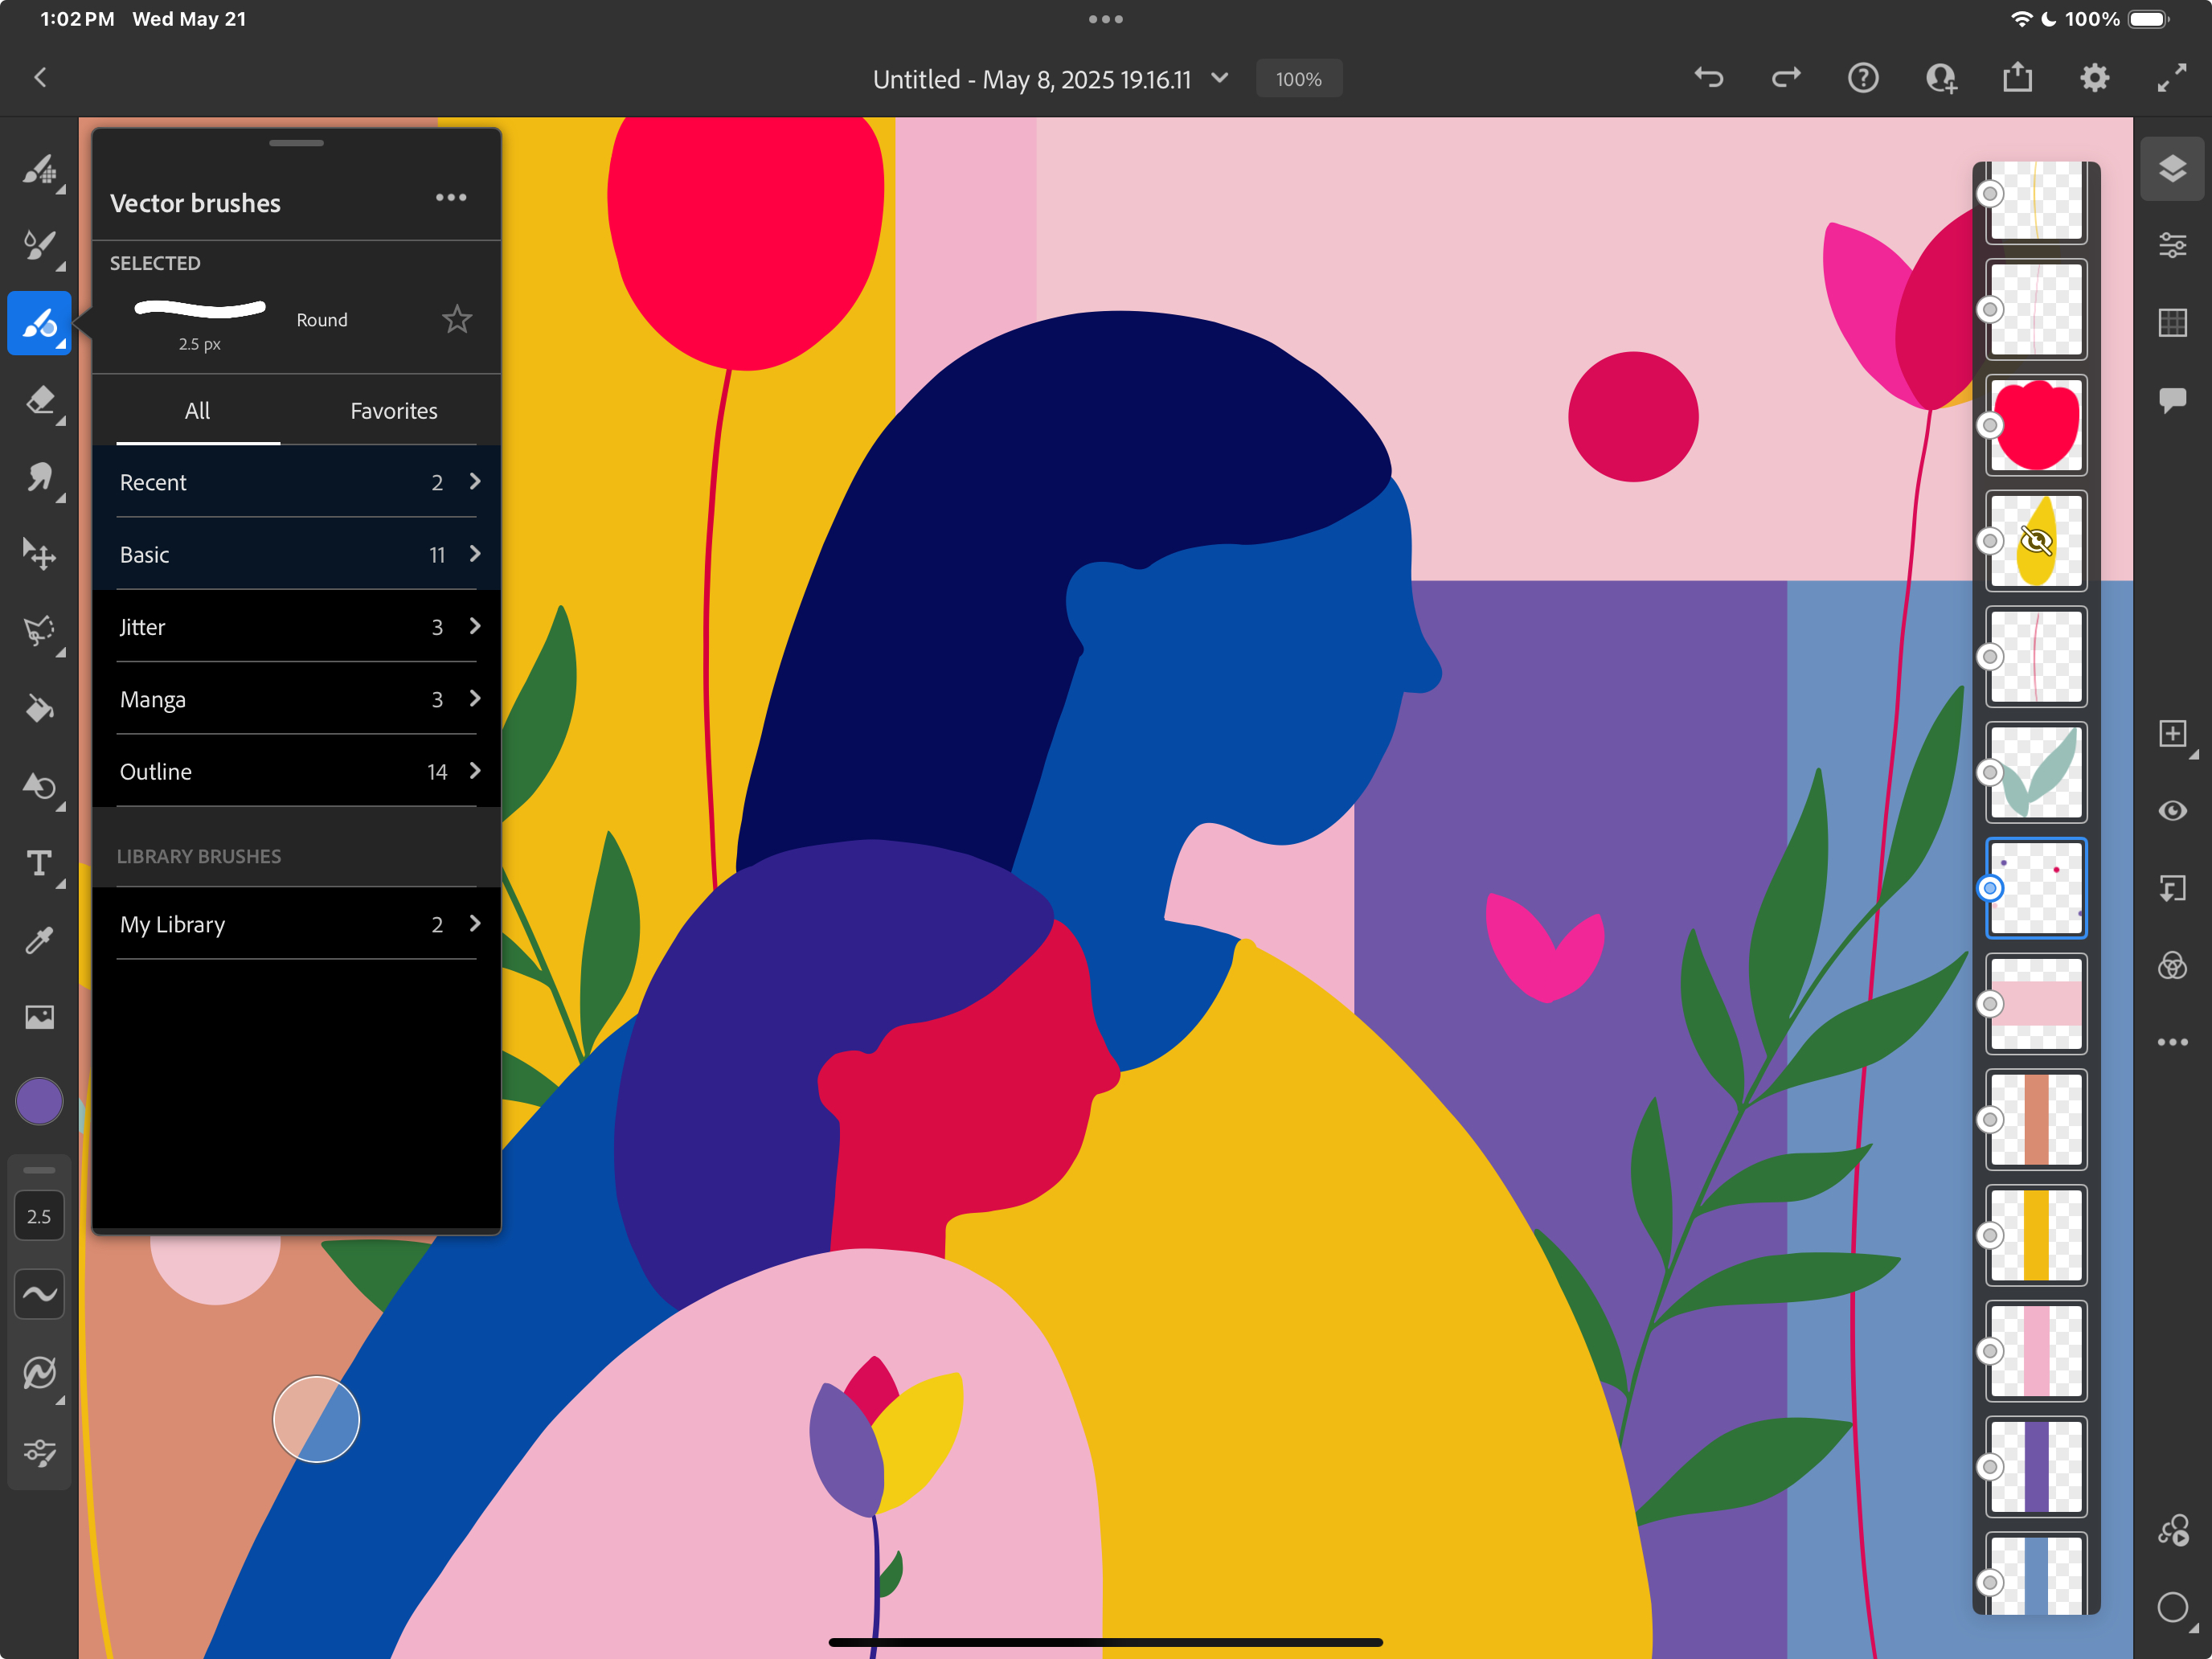
A Hybrid Artist’s Dream: Pixel, Vector, and Live All in One
One of Fresco’s greatest strengths is how it blends different types of brushes in a single document. You’re not stuck choosing between pixel and vector anymore — you can use both.
- Sketch in vector for clean, scalable lines.
- Paint in raster for texture and depth.
- Add dynamic color with Live Brushes for movement and realism.
This hybrid workflow means illustrators, comic artists, and designers can do all their creative thinking in one place — no more switching between apps.

Seamless Workflow with Creative Cloud
Adobe Fresco is built to integrate. You can start a sketch in Fresco on your iPad and pick it up later in Photoshop on your desktop — or vice versa. The cloud-based syncing is smooth and reliable, giving you true flexibility in how and where you work.
Pair this with Fresco’s ability to export directly to PSD, PDF, or high-res images, and you have a tool that not only creates beautiful work — it fits perfectly into your professional pipeline.
The WOW Factor: A Tool That Thinks Like an Artist
Fresco doesn’t just look good — it feels right. The pressure sensitivity, the canvas response, the brush physics — all of it is designed with artists in mind. Even little details, like the way watercolor pigment pools or how oil paint mixes on the screen, are rooted in real-world physics and materials science.
Want to create a soft sky that melts into the horizon? Done. Want to mimic thick impasto strokes of oil on linen? You got it.
This isn’t about simulating art. It’s about redefining digital painting as a fully expressive medium.

Final Thoughts: Why You Should Try Adobe Fresco
Whether you’re a hobbyist sketching on your iPad or a professional illustrator pushing boundaries, Adobe Fresco offers a space where art meets innovation. It’s intuitive, powerful, and inspiring. And most of all — it gives you permission to play.
So if you haven’t tried it yet, go ahead: download Adobe Fresco (it’s FREE) and see what happens when your creativity meets one of the most advanced digital canvases in the world.
You might just forget it’s not real paint.
As an Amazon Associate, I earn from qualifying purchases. This means if you click a link to my book on Amazon and make a purchase, I may receive a small commission at no extra cost to you.