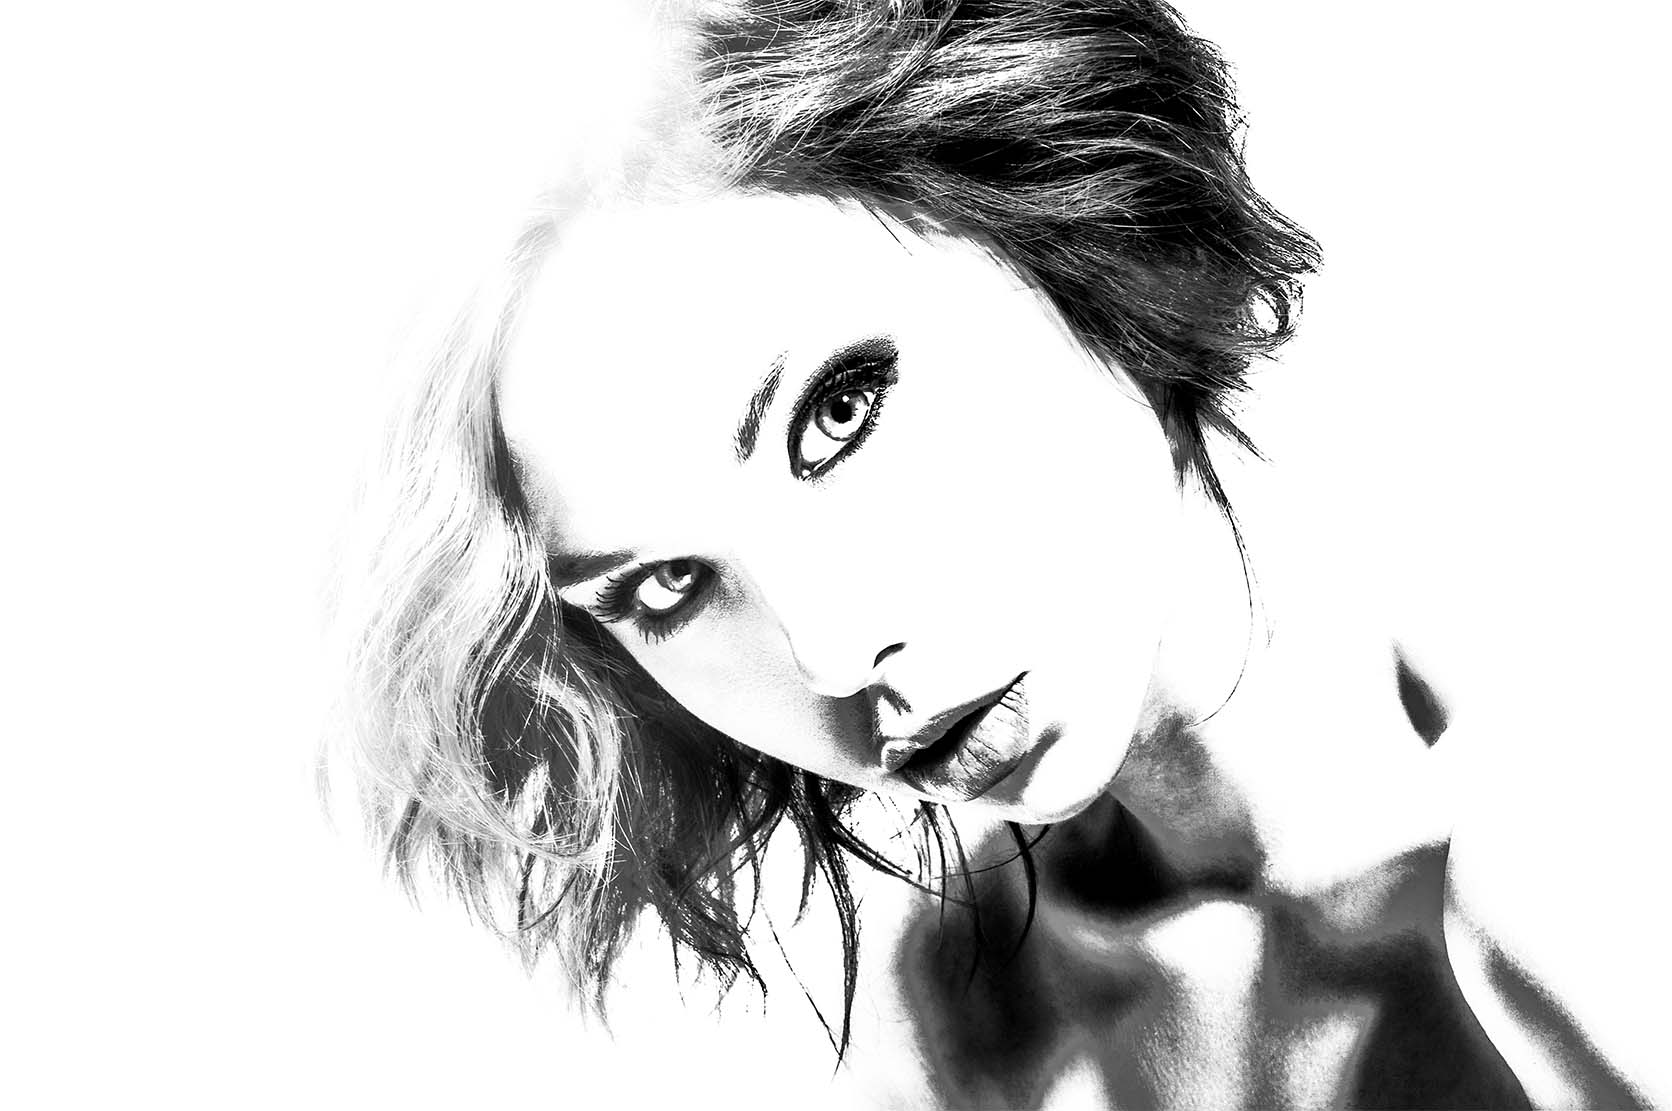
Let’s talk about creating unique art even if you’re not a painter. You asked me, and I heard you. So let’s get started.
I have opened an image in Photoshop that I want to convert into art

Filter > Camera Raw Filter

The first thing in Camera Raw I moved was the Texture, Clarity, and Dehaze sliders to a negative value each. Below you can see how I did it based on my image. The purpose of moving those sliders to a negative value is to apply a little painterly effect to the portrait. We still can see all details in the portrait. Don’t move all 3 sliders all the way to the left (negative value). Move the sliders based on your image.
When you’re happy with the result, click OK.

Image > Adjustments > HDR Toning.
Note:
HDR toning requires flattened layers. If you have more than one layer, please, merge or flatten them.
Your image doesn’t have to be shot in HDR mode. So don’t worry about it.

In the HDR Toning workspace, I applied a few adjustments (see image below)

Note: I would recommend checking the Smooth Edges and Preview boxes.

Now the image has more contrast and this will make the final result look more artistic. Each image is different. Try to apply adjustments in the HDR Toning workspace based on your image and taste. Using HDR Toning workspace I applied the painterly effect to the image.
Time to jump back to the Camera Raw Filter. Here I added a positive value to Dehaze and Clarity. I moved the Texture slider to the left (to add negative value to it).
I decreased the value of Vibrance and added +1 to Saturation.


Now click on Browse Profiles.


In the Profiles workspace, I expanded the Vintage library and applied the Vintage 08 profile. After I clicked on the Vintage 08 profile, Camera Raw displayed an Amount slider for me. I moved the slider all the way to the right. Now Camera Raw applied 200% profile to amount to my image.


After I was happy with the result, I clicked OK.
The next step was jumping back to the HDR Toning workspace where I increased the Details value using the Detail slider.

The last step in the HDR Toning workspace is to move the Vibrance and Saturation sliders to -100 value each, the Radius slider to 5–px, Strength slider to 4.00


The last step today is > Image > Adjustments > Shadows/Hihlights

Below is the setting I applied to my image. Feel free to adjust your image in a way you like (it’s your image, it’s your art).


After you’re happy with the result, click OK.
Tip: This is optional.
if you want to add more contrast to your art > open the image in Camera Raw. Here to add more contrast, exposure, texture, clarity, and dehaze. Below, you can see the setting I applied to my image.


I’m very excited to announce my NEW online art store. As an artist, I create original art both digitally and traditionally every day. Many of you have asked how you can buy my original art or if I sold my art on clothing and other products? Now I do and I need your support. Please consider placing an order today for yourself or for a loved one. Thank you!

