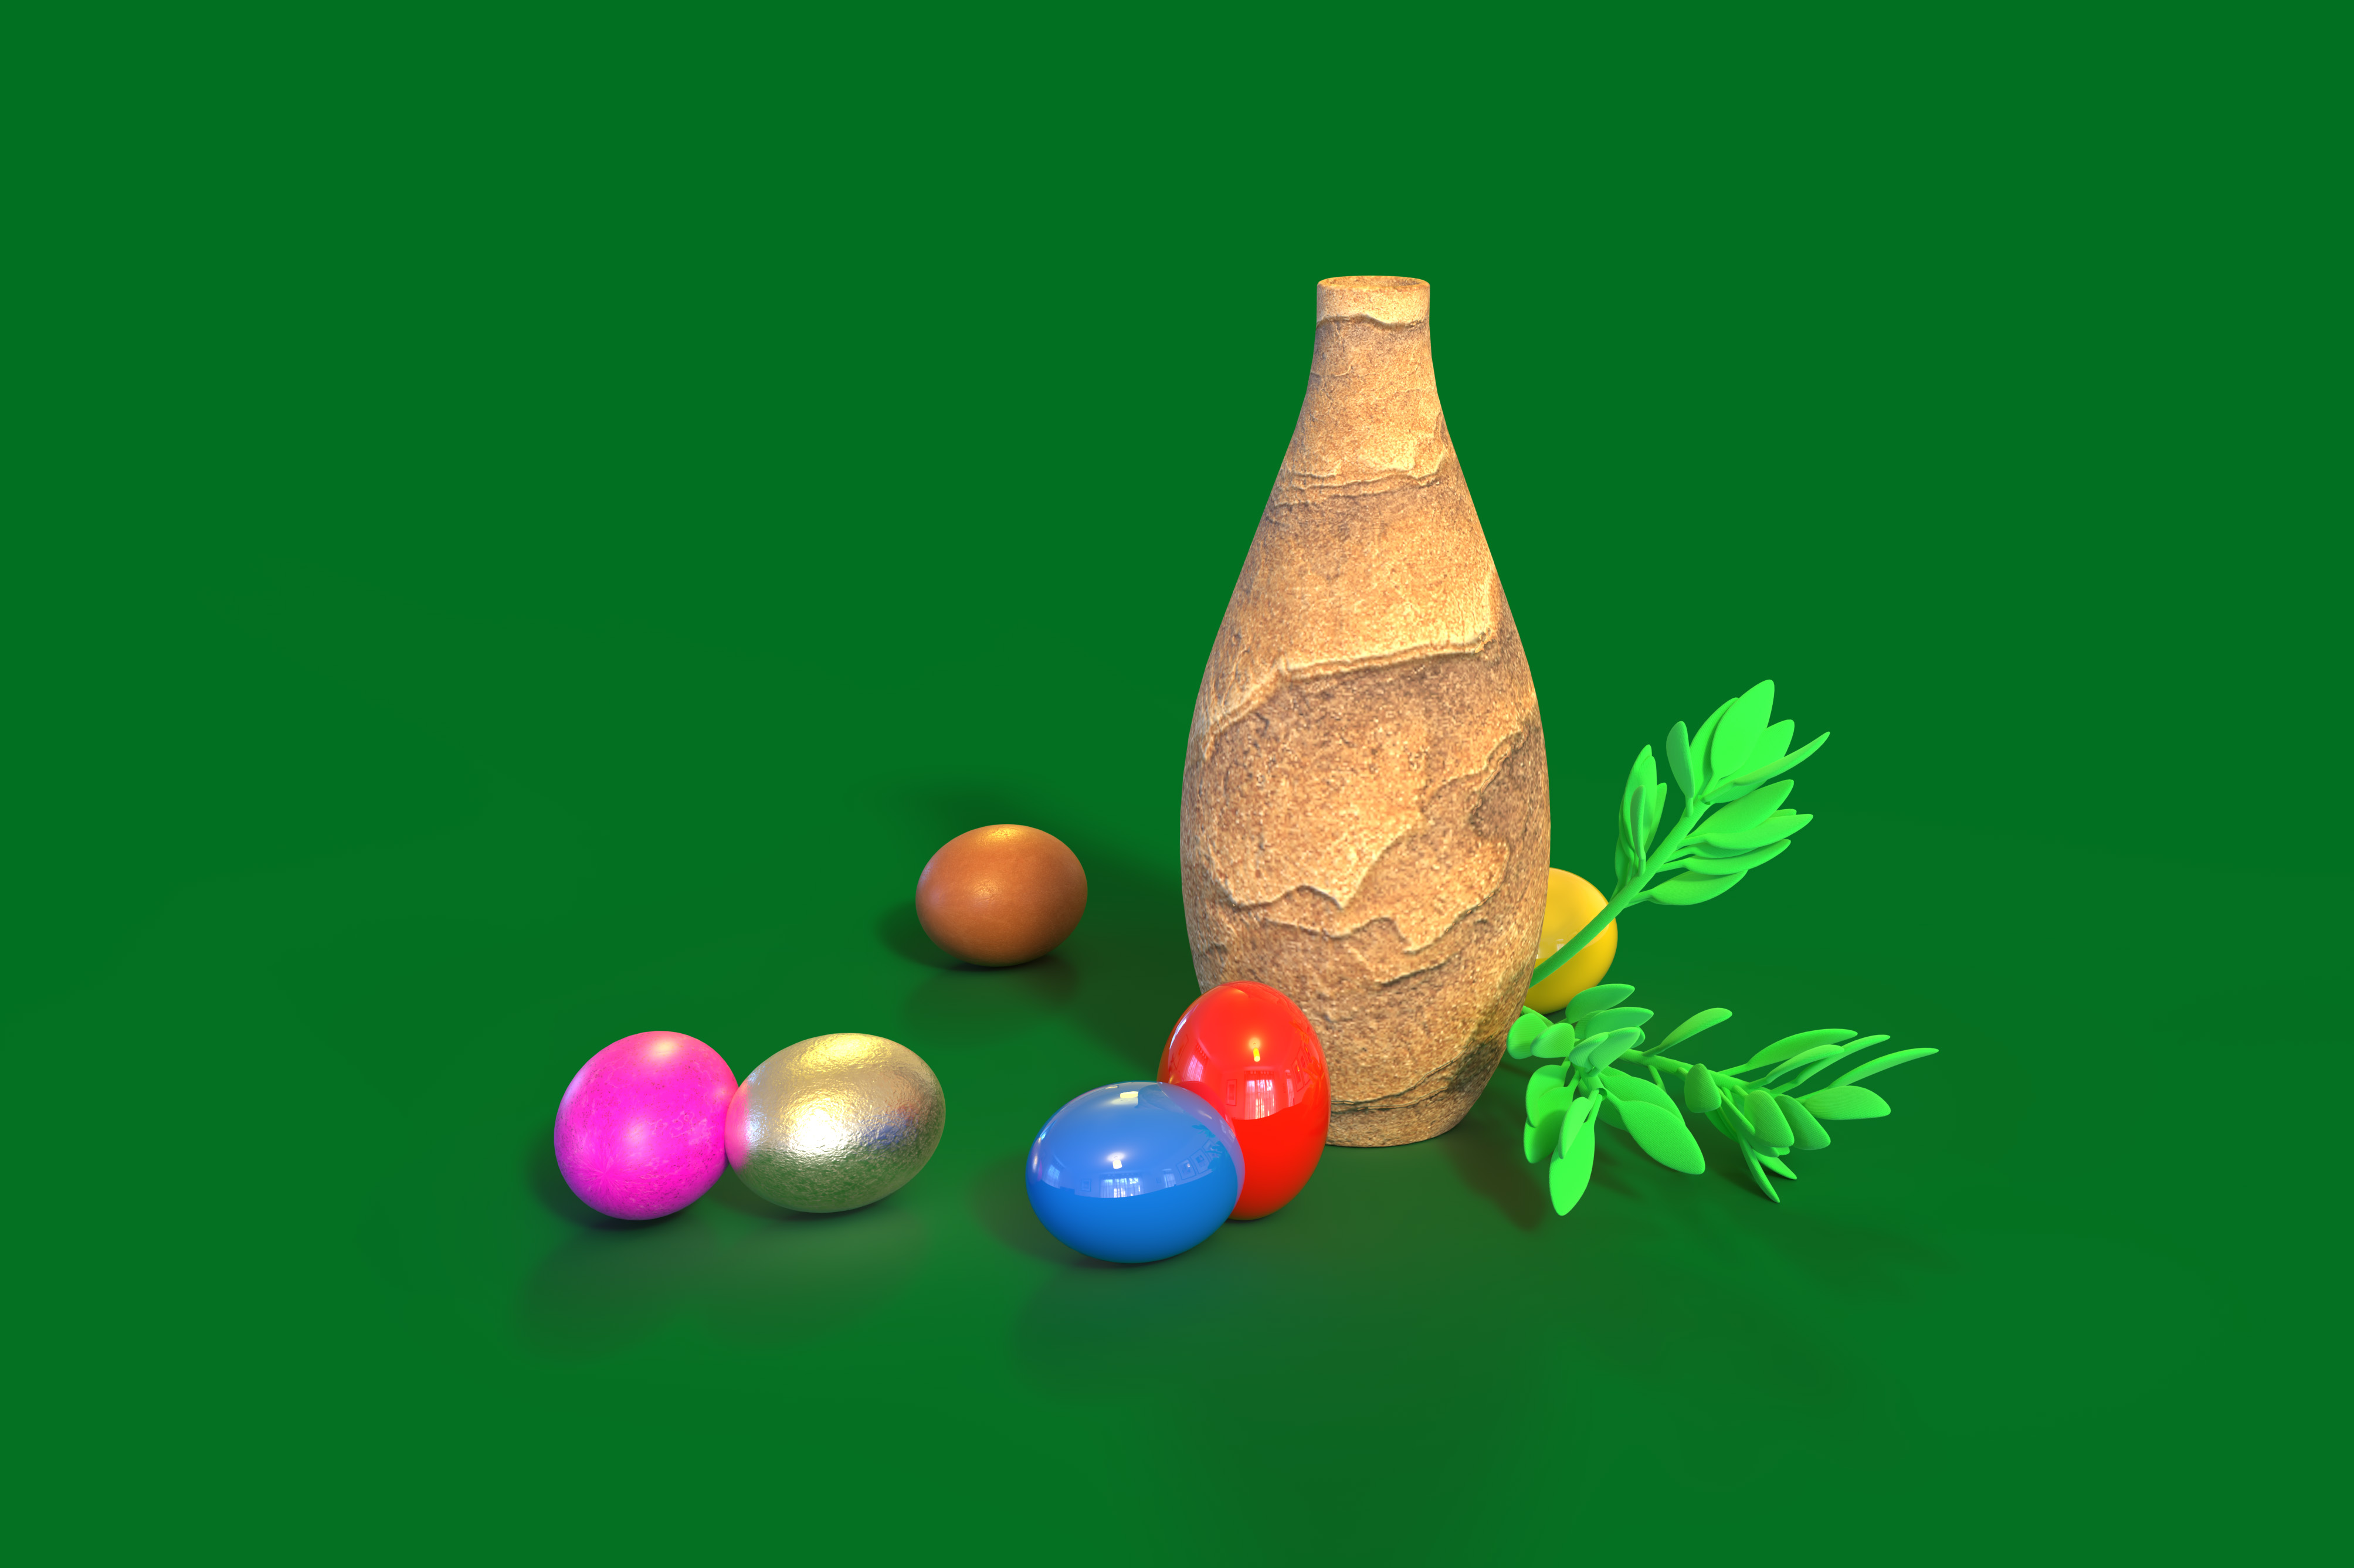
Easter is coming. So for Easter 2022, I decided to share with you how to make something unique in Adobe Substance 3D Stager using the app’s default assets. This post is for beginners. So if you never worked with Adobe Substance 3D Stager, you will feel comfortable creating your first 3D art with me.
Grab a cup of coffee or tea and let’s start!
Open Substance 3D Stager > Click on “Create New”.


In the “Scene” panel > Click on “Environment

Properties Panel > Click on the “Background” color icon > Pick any color you like

From the Starter Assets” panel > Click on the “Models” tab to open Models Library

Click on “Sphere” model > Stager will add it to the 3D canvas

In the “Properties Panel” make the “Transform” workspace enabled by clicking on the “Transform” tab.
Click on the chain icon (next to “Size”) to disable proportional scaling > Set Y value to 27.94 CM or to any other value you like to bake the sphere looks like an egg.


Click on the “Chain” icon next to the “Scale” to enable it > In the “Scale” workspace change the “X” value to 0.3

In the Starter Assets, click on “Materials” to be redirected to the Materials library > Click on “Gloss Paint” to add this material to the egg.

In the “Material” workspace change all values as you see in the image below

Press “W” on the keyboard to activate the move tool > Edit > Copy > Edit > Paste > Click on Blue triangle (“Z”) > move the second egg to the left

In the “Material” Workspace > change the color to any color you like

Switch to the “Rotate” tool by clicking on “E” (keyboard shortcut) > Move the red circle to the right

In the “Action” panel > click on the “Move to Ground” icon to move the egg to the ground


Click on the “Vase” model to add it to the 3D canvas > Scale the Vase size down > Apply any material you like to the Vase (I used Sand Stone Strata 2)


In the Properties Panel switch to “Object” workspace > enable “Collision”

Switch to the “Move” tool and move the vase behind the eggs.

In the scene panel > double click on Sphere > rename it to the “Egg” > Click on Sphere 2 > rename it to the “Egg2”. When you will rename the second egg, this object will be selected. While the subject is selected > click and hold “Command” > while holding it click on Egg layer. Now you have selected both eggs

In the Properties panel > enable “Scale Proportionally” > bring eggs size down > Reposition eggs in the way you like (I positioned them close to the Vase)

After that, I created a copy of the blue egg > Enabled the “Collision” option for this egg > moved the egg behind the vase > Changed the color of the egg

You can repeat the last steps as many times as you like. Below is my example. Don’t forget that you can change the material for the individual egg as well.

The next step is optional. Below is an example of how I did it.
I did add the “Folage_A” object to my scene > Scaled the size down > Enabled the “Collision” option > Moved a new object behind the Vase > Applied “Simple Rib Stich material > Changed the color to the green.

The last step in the composition is to add light to it. You can use any light you like. I used the “Small apartment” light from the “Lights” library (default asset library) > Increased the light “Intensity” to 184%

P.S. I changed the background’s color. I think this color works better for this composition.

In the options bar, click on “Ray tracing” to preview the scene in “Quick Render” mode


If you are happy with what you see > click on Render. In the “Render” workspace > specify render options in a way you like/need > Click Render.


Your custom and unique Easter artwork are ready

